BUY 1 GET 1 FREE ON LINGERIE
70% OFF ON SHIRTS
70-80% OFF ON KURTI
70-80% OFF ON KURTA
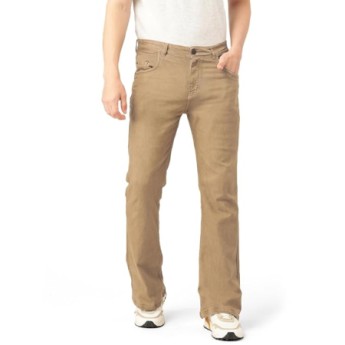
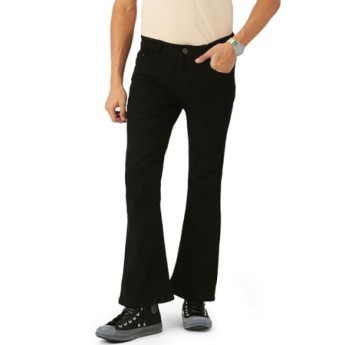
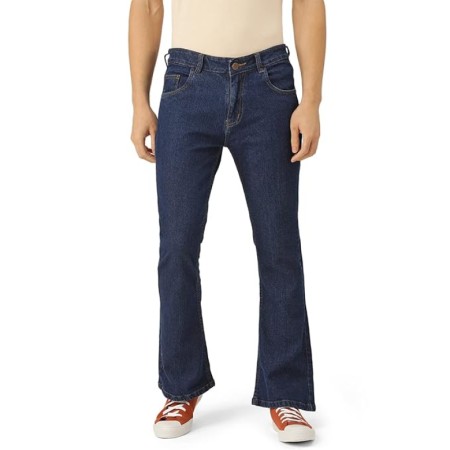
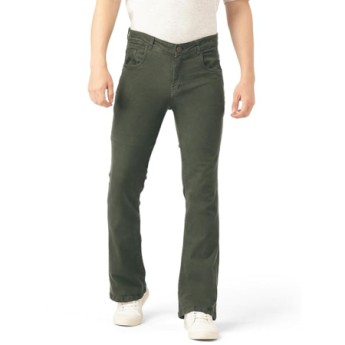
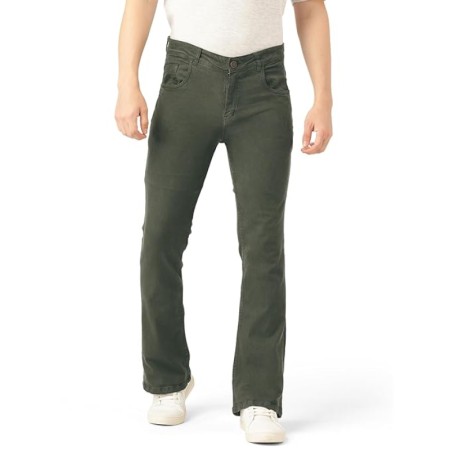
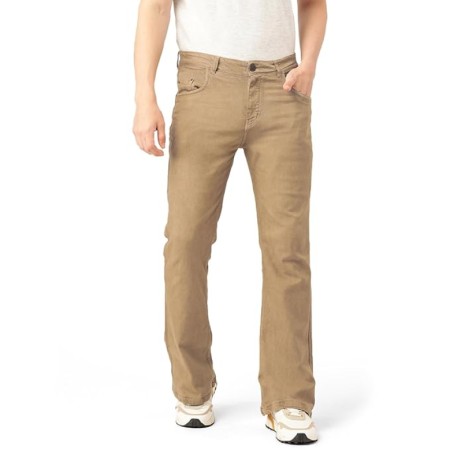
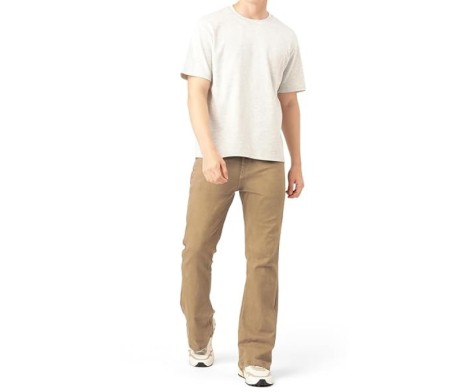
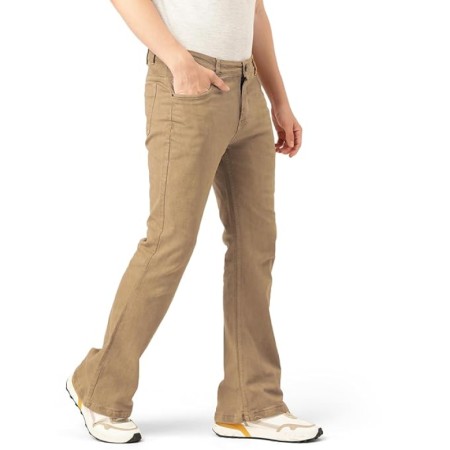
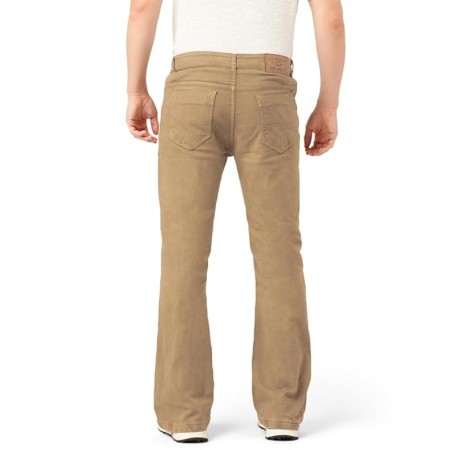
| Name : | Jeans |
| Material composition : | 85% POLY 15%COTTON |
| Product type : | Straight |
| Design : | Ankle Length |
| Country of Origin : | India |
Return Policy ? |
Ripped jeans are a distinctive style of denim characterized by intentional tears and frays, often located around the knees but potentially found in various other areas. This fashion trend has evolved significantly since its inception, becoming a staple in contemporary wardrobes.
Ripped jeans first gained prominence in the 1970s, closely associated with the punk rock movement. Punk culture embraced ripped denim as a form of rebellion against societal norms, using it to express individuality and dissent. Bands like the Sex Pistols popularized this look, which was often adorned with safety pins and patches, symbolizing a rejection of mainstream fashion
.The trend continued into the 1980s and 1990s, where it was adopted by grunge culture and further popularized by musicians such as Kurt Cobain and Iggy Pop. Ripped jeans became synonymous with a casual, laid-back aesthetic, often paired with oversized shirts and combat boots
average based on 0 ratings.
Based on 3 reviews
7 days Return & Exchange
| Return Reason | Return Period | Return Policy |
|---|---|---|
| Size too small, Size too large | 7 days from delivery | Exchange with a different size or colour |
| Any other reason | 7days from delivery | Full refund |